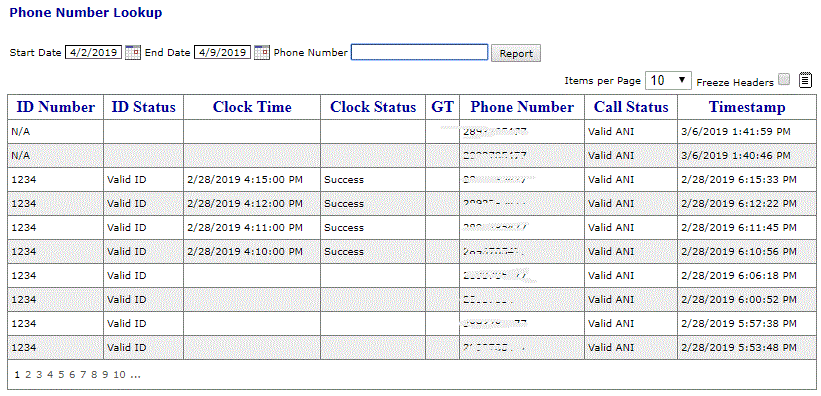
This report will detail any calls that have come into the IVR from a specified phone number and display ID Number, ID Status, Clock Time, Clock Status, GT, Phone Number, Call Status and a Timestamp. The report will not run until a Phone Number is entered and you click "Report".

Every report shares the same basic abilities around setting criteria, sorting, paging, exporting and printing and is covered in each of the sections below.
Criteria
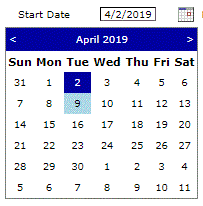
Start Date - This will default to be 7 days ago when opening your first report this will then automatically remember any changes you have made between any reports you have run in this session.

To change the start date first click on the Calendar Icon, a Calendar control will then appear under the start date and allow you to select a new start date.

On selecting a new date you will see the selected date refresh. Once you click "Report" the control will return to normal size.
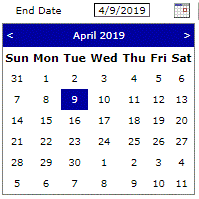
End Date - This will default to today's date when opening your first report this will then automatically remember any changes you have made between any reports you have run in this session.

To change the end date first click on the Calendar Icon, a Calendar control will then appear under the end date and allow you to select a new end date.

On selecting a new date you will see the selected date refresh. Once you click "Report" the control will return to normal size.
Phone Number - There is no default for this field and will be blank when opening your first report this will then automatically remember any changes you have made between any reports you have run in this session.

Paging
By default the report will show 10 rows per page.
If there are enough records to require the report to be broken down into multiple pages there will be an indication as to the number of pages in the report footer. Selecting a page number in this footer will then jump to this page of the report.

The number of rows per page can be increased using the "Item per Page" parameter directly above the report, you can selected a number of item paer page between 10 - 100 or allow all records to be displayed in 1 go

Sorting
The report can be sorted by any filed that is displayed in the report. When the report is first loaded it will be displayed in the default order usually chronological.
To sort by a new column click the column title and the report will sort by the values inside that column alphabetically in ascending order (smallest to largest) clicking on the same column heading a second time will reverse the sort putting that column into descending order (largest to smallest) alphabetically.
Please note there is no way to sort date fields chronologically other than when the report is first loaded to get back to this order you will either have to change some criteria for the report and click "Report" or navigate to somewhere else in the site and then back to the report.
Exporting
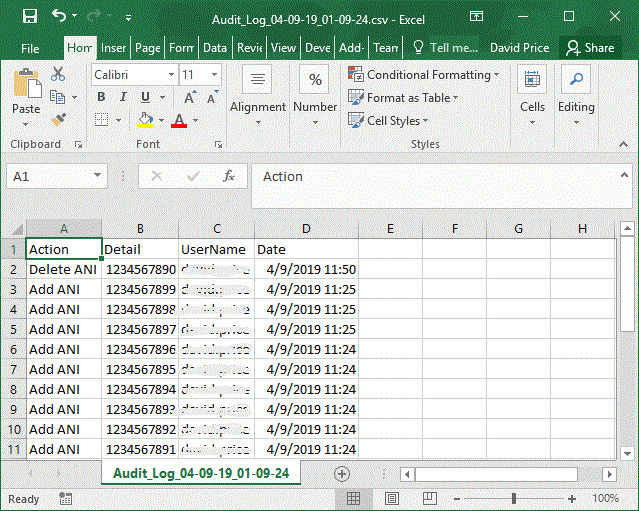
The report can be outputted as a CSV file to allow saving or editing of the information contained within.

To export the report to CSV click the Export Icon just above the report, if you have scrolled down the page you may have to scroll back to the top to get to this option. The system will then create a CSV file with the following name: Report_Name_MM-DD-YYYY_HH-MM-SS.csv this file can then be opened in Excel

Printing
The report can be printed including all formatting.

To print the report click on the Print Icon just above the report. Using this print button will reformat the report into a printer friendly format and temporarily remove all paging from the report. Using a print button withing the browser will have different results and the report may not be formatted in a readable format.
The criteria used to generate the report will be added to the page at the end of the report.